Disclosure: This article contains Amazon Associate links, which means I earn a small commission if you buy through them (at no cost to you). Thanks for your support!
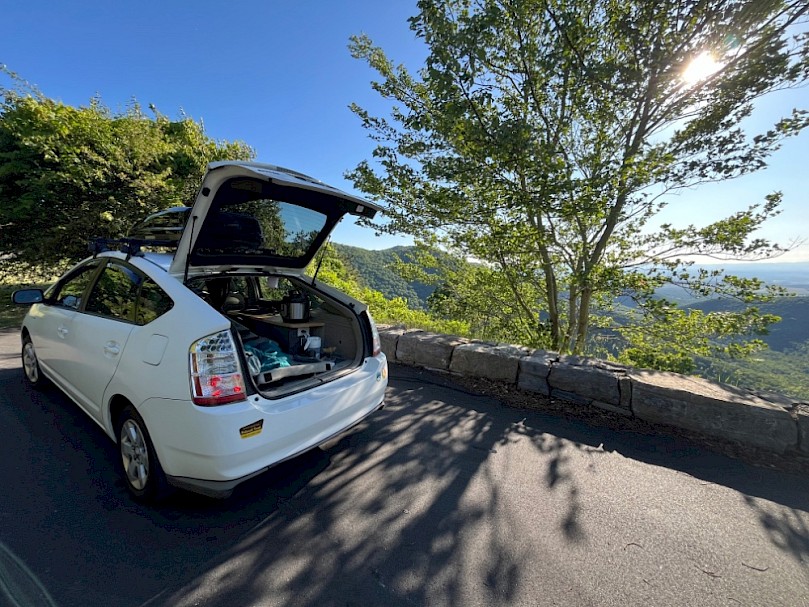
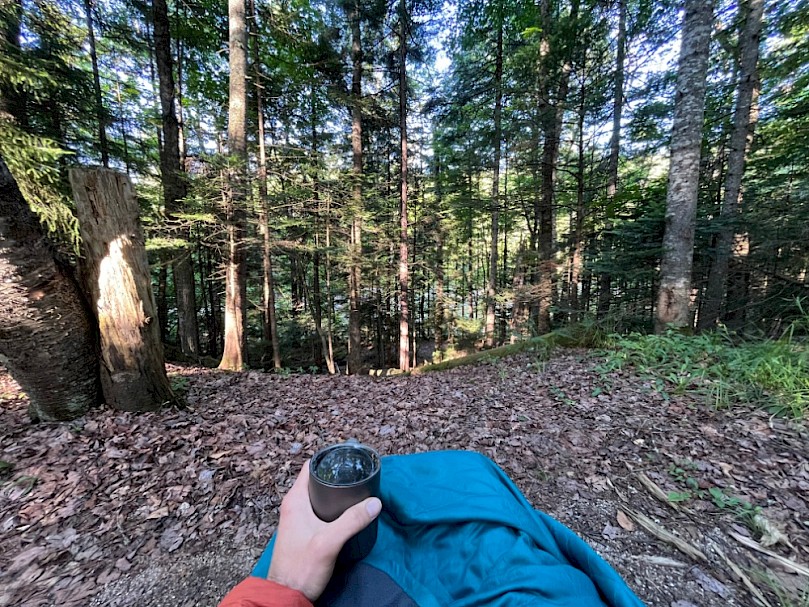
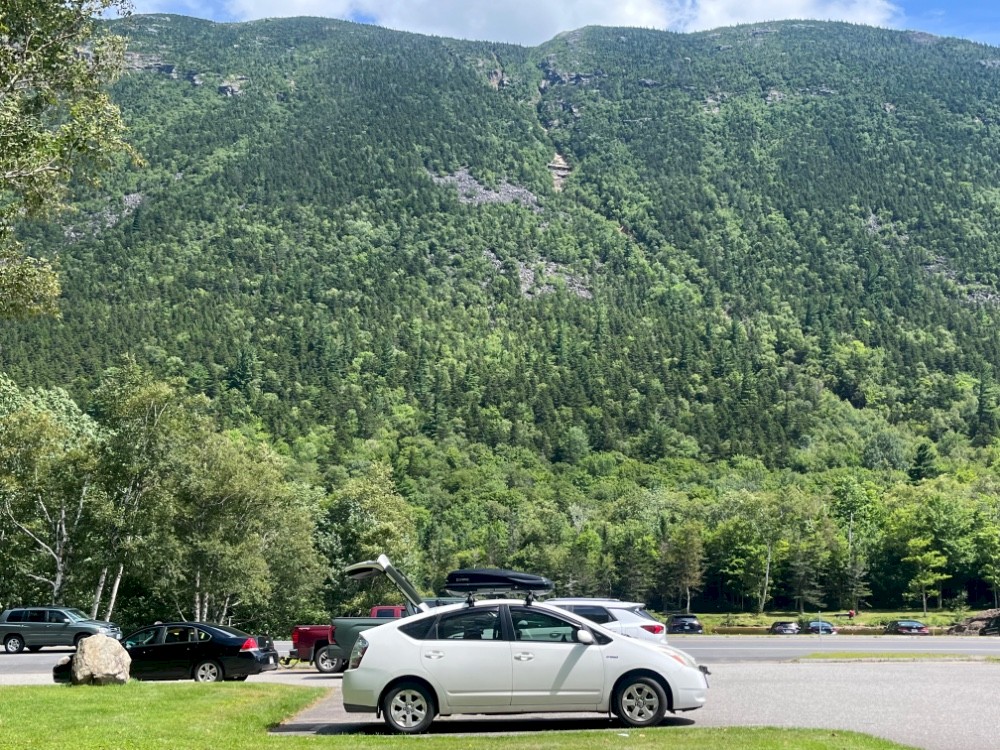
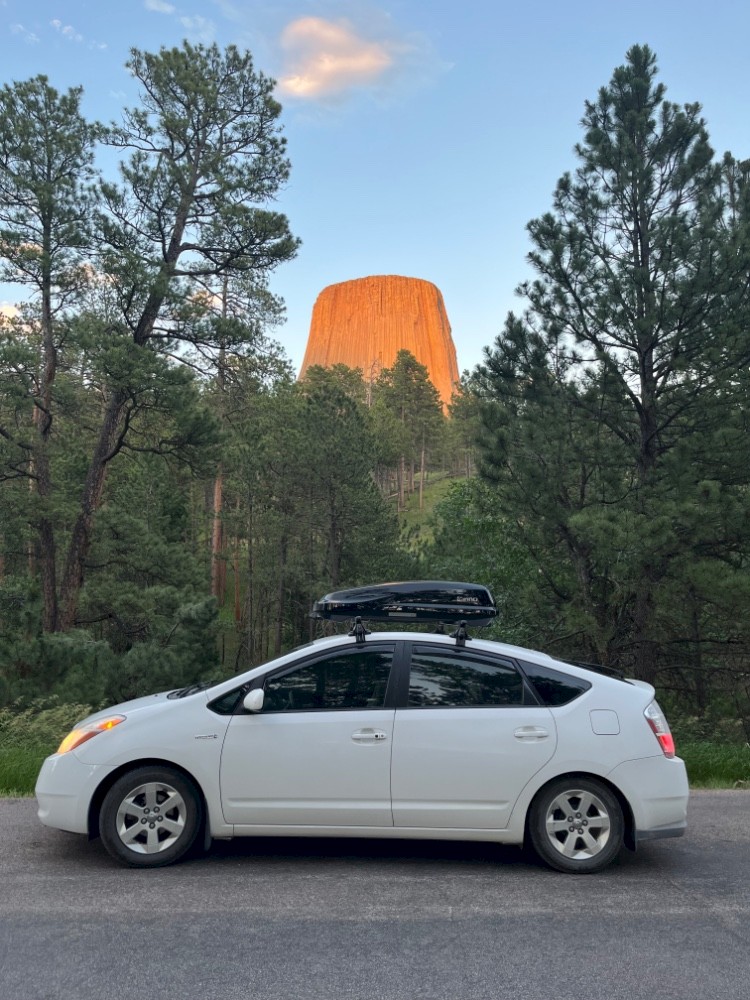
Let me tell you, there’s nothing like stopping at a pullout with an epic view and brewing yourself a fresh cup of pour-over coffee. Sitting there with the hatchback open, a light breeze blowing and savoring the complex flavors and aroma. Some of these simple moments have been among the highlights of my road trips.
The pour-over method of brewing coffee is especially great for travel (van life, camper cars, tiny homes) because it requires very little equipment and makes arguably the best tasting cup. You simply pour hot water over the grounds in a filter and it drips directly into your coffee mug. Pour-over also engages the senses during the process, which is perfect when you want to slow down and enjoy the moment.
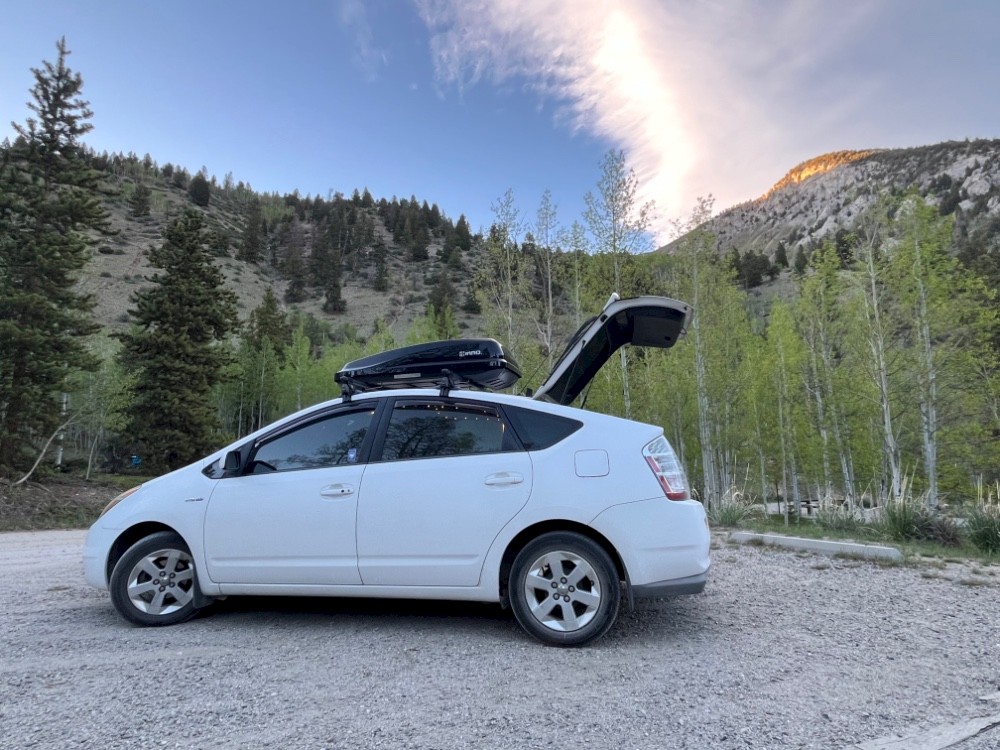
Here’s how I do it in the Prius Camper:
Heating the Water
I have a 1200 watt inverter wired up to my starter battery. Turning on the car and powering on the inverter gives me 1200 watts of AC power, and because the Prius is a hybrid, the engine only runs when the hybrid battery needs a boost.
Travel Kettles
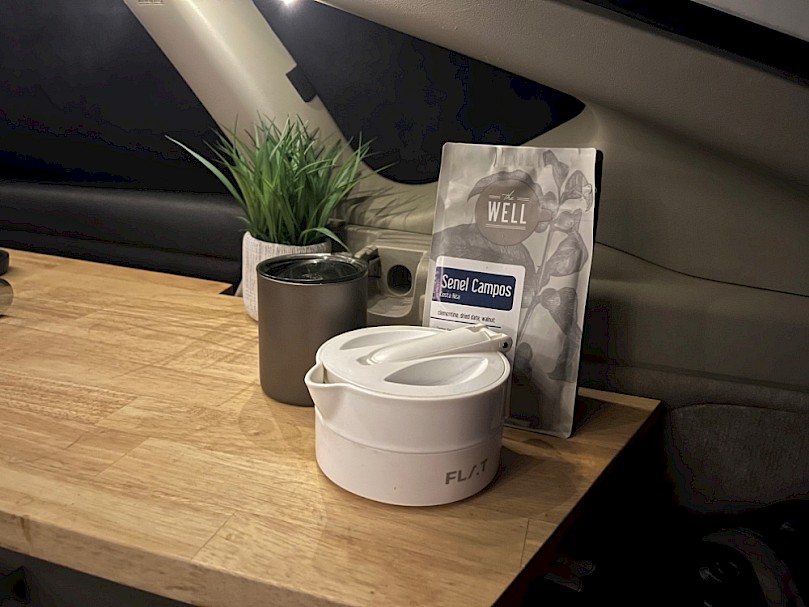
In use a portable, foldable silicone kettle called the “FLAT” kettle. I tried a few different kettles of dubious quality (many of the inexpensive silicone kettles on Amazon give off concerning synthetic odors) before settling on the FLAT. I love its dead simple, clean, elegant design. Unfortunately, the FLAT is no longer sold, but there are a couple similar options on the market now:
- Dace Folding Travel Kettle - This is the closest to the model I have (it appears to be a rebrand with a variable temperature knob)
- HYTRIC Folding Travel Kettle
These kettles heat water very fast (within a few minutes) and they use around 800 watts, so just make sure your inverter is sized appropriately.
If you don’t have a full camper setup with an inverter, 12v water kettles are also available which you can plug right into a 12v “cigarette lighter”, but they take MUCH longer to heat the water (15-20 minutes).
Camping Stoves

If you don’t want to go the full inverter route and you don’t want to wait 20 minutes to boil your water (I don’t blame you!), you could also get a small camping stove that can be attached to a compact isobutane fuel tank. I recommend the MSR PocketRocket, as it is tried and true and has a great reputation among backpackers. Just don’t forget to bring a lighter or matches, observe safety precautions, and only use it outside or with the tailgate wide open!
Simple Measuring
Regardless of what you’re using to heat your water, the key to making the travel pour-over process simple and easy is knowing how much water you’re going to use for a single cup of coffee every time, without having to measure anything out.
For a single cup of coffee (one serving–not a literal cup), I fill my FLAT kettle up to the top of the silicone wall, which is about 320 grams (320 mL or 11.3 oz) of water.
For your first brew (if you don’t want to measure), I suggest filling up your coffee cup with water to a level a bit higher than the amount of coffee you want (to account for the water that is absorbed by the grounds and left behind), and then pouring the water back into your kettle. Mark or make note of the water level in the kettle for the future.
I allow the water to reach a full boil and then turn the kettle off and allow it to cool for a minute before starting the pour.
The Grind
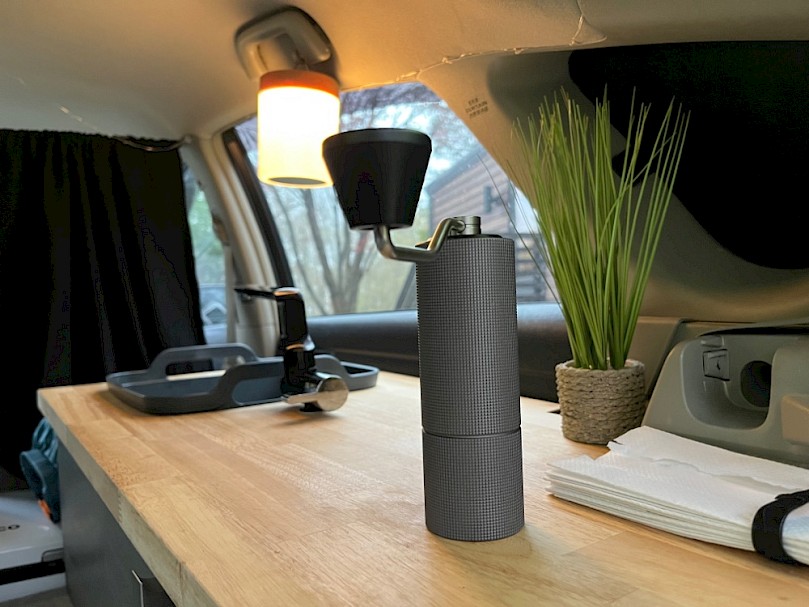
While the water is heating in the kettle, it’s time to start grinding your coffee. Fresh ground beans is key to great tasting coffee, and this is one area I won’t skimp on, even when I’m traveling.
I love a good hand burr grinder, and my absolute favorite is the Chestnut C2. It’s super ergonomic, with a beautiful high quality build. It makes grinding a fun, tactile experience.
My tip for keeping the grind simple is basically the same as for the water, and it’s knowing exactly how much you need to make a cup. That’s one thing I love about the C2—It’s just the right size so you can fill it up to the top of the chamber and you’ve got just about the right amount for one cup, adjusting a bit more or less to your taste.
Coffee:Water Ratio
The typical recommended ratio of coffee grounds to water is from 1:17-1:15. For 320 grams of water, that’s about 19-21 grams of coffee grounds. I find this to be too watery for my taste, at least with medium-light roasts. For 320 grams of water, I prefer closer to 26 grams of grounds (a roughly 1:12 ratio).
The Dripper
My preference is for the V60 cone-style dripper. The V60 was pioneered by Hario, a Japanese brand. I’ve tried several different collapsible coffee drippers as well as just using a standard plastic Hario dripper, but my absolute favorite right now is this beauty.
- VANDROOP Collapsible Silicone Coffee Dripper - My favorite dripper. V60 compatible, collapsible, and compact.
- Hario V60 Plastic Coffee Dripper - The original V60. I don’t love that it’s plastic, but it’s tried and true and the #1 size is pretty compact.
I really recommend using disposable paper filters because the other options require way too much cleanup for the road.
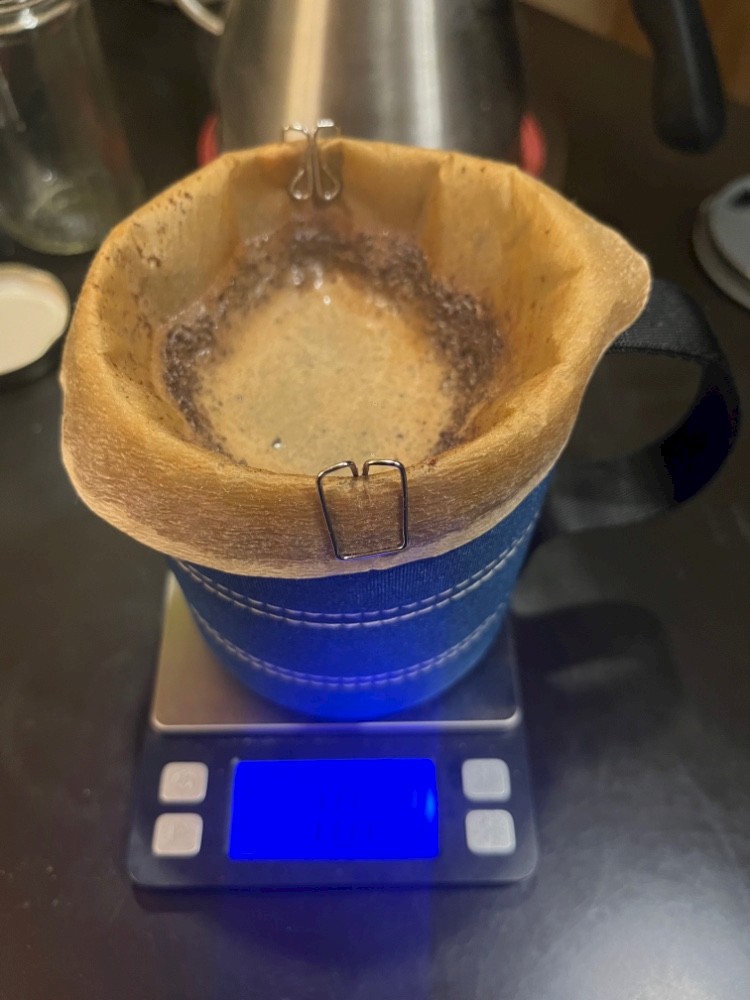
Going dripper-free
I’ve even tried going without a cone entirely, which is a great option for ultralight backpacking. I take a standard #2 paper filter (not the V60 kind–the pointy bottom sticks down too far into the cup) and fold the top edge over my cup, then use a couple paper clips (owl clips work best) to hold the filter to the rim of the mug.

The Mug
My favorite travel mug is the MSR Titan. It’s a great mug for backpackers because it’s so darn lightweight while still being insulated. But it’s honestly great to use anywhere. It’s just the right size to give you a full 8oz-10oz cup with enough room for the dripper cone on top. It’s a bit pricey, though, so if you’re watching your wallet, any large mug that fits your dripper will do.
The Pour

When I’m at home I use a gooseneck kettle with a thermometer and a scale to carefully portion out my pours into roughly 10 second durations of about 50 grams of water until I reach 300 grams.
However, when I’m on the road, I like to keep it super simple and just heat exactly the amount of water I’m going to use from the start. Then I pretty much just use my intuition for the length of each pour. To be honest, it usually comes out just fine (and I’m pretty picky about my coffee!)
Here’s how to do it:
- Slowly pour water into the center of the grounds and move outward in concentric circles. Once you reach the outer edge, circle back inward. If using a small #1 filter cone, you’ll want to fill the dripper cone up to within 1/4” of the top (if using a #2 filter cone, you’ll want to fill it up maybe 1/2 full before stopping).
- For the first pour, allow the coffee to “bloom” for about 30 seconds (if it’s fresh coffee it will “bubble up” a bit–savor that aroma!). For subsequent pours, simply allow the water to drain down to the surface of the coffee bed before starting the next pour.
- Repeat steps #1 and #2 until all the water in the kettle is gone. You’re done!
After the pour is done, I place the drip cone onto another small cup (I use an old single-serve yogurt cup) to let it drain out completely and allow the grounds to dry out as much as possible (and not drip all over the floor of your vehicle).
I like a bit of cream or half & half in my coffee and have a small fridge installed behind my passenger’s seat, but if you don’t have a fridge on board your rig, powdered milk is a convenient natural option that avoids the questionable additives found in most powdered creamers. You can add it directly to the coffee without pre-mixing with water, which gives it a richer taste closer to cream.
I avoid all added sugars, so if I need a bit of sweetness I’ll go for a scoop of erythritol, monk fruit, or stevia. The pure powdered forms of monk fruit and stevia come in little spice jars that last forever (each serving requires just a tiny scoop since they are 200-300x sweeter than sugar).
The Taste
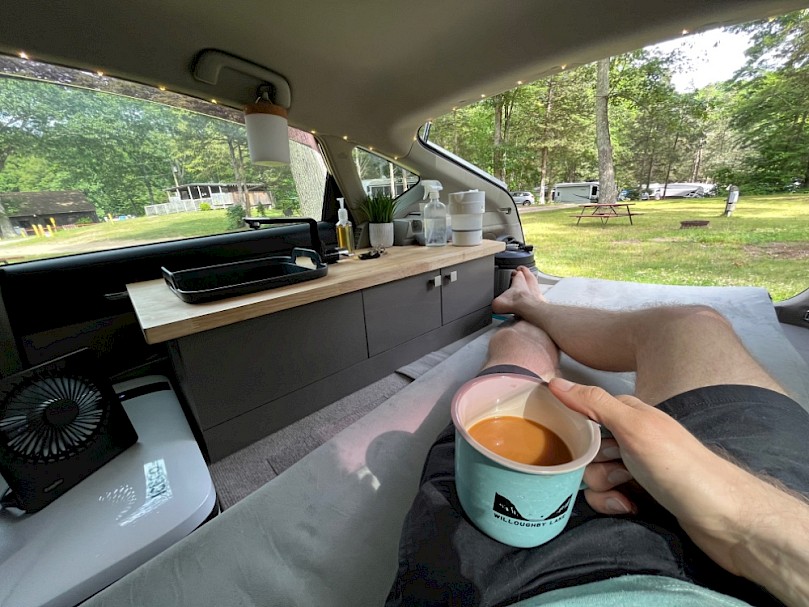
That’s it! Enjoy your coffee and be sure to take a few moments to clear the chatter in your mind and tune into each of your senses.
Cleanup
Instead of carrying your coffee grounds around in your camper where they’ll promote mold growth or tossing them into a garbage can where they’ll be shipped off to be eternally preserved in a giant diaper in the ground (a.k.a. a sanitary landfill), you can responsibly return them back to the environment by spreading the grounds out in some nearby bushes. Coffee grounds will biodegrade readily and make great compost. One exception to this would be if you’re camping in bear country, as the scent could attract their attention. The paper filter is biodegradable too, but it will look like litter in the meantime, so it may be best to put that in the garbage if you don’t have a compost pile nearby.
There are many ways to make coffee on the go, but for me this pourover method is the perfect blend of simplicity and luxury.
Have another method? I’d love to hear about it in the comments below. Happy travels and remember to savor every sip!


Categories: Prius Camper
Comments: No comments yet
Post a comment